


Are your kitchen cabinets looking a little tired or outdated? Repainting painted cabinets can transform your kitchen or bathroom from dull and drab to a fresh and modern look. This comprehensive guide walks you through everything you need to know about repainting painted cabinets, from preparation to top-notch painting tips.
Why Repaint Cabinets?
When refreshing your living space, repainting cabinets is one of the most cost-effective ways to make a significant impact. Here are some reasons why you might consider repainting your existing painted cabinets:
- Cost-effective Renovation: Repainting is significantly more affordable than replacing cabinets.
- Refresh Your Style: Change colors to match modern trends or personalize your home.
- Fix Imperfections: Cover scratches, scuffs, or old stains.
- Increase Home Value: A fresh look can enhance your kitchen's appeal to potential buyers.
Preparing for the Project
Assess Your Cabinets
Begin by examining your cabinets to ensure they're suitable for repainting. Look for:
- Structural Integrity: Ensure there are no warped doors or major damage.
- Material Type: Solid wood and MDF cabinets are ideal candidates.
- Previous Finishes: Consider the existing paint's adhesion and condition.
Gather Essential Supplies
Having everything you need before starting simplifies the project tremendously. Here is a checklist of must-have supplies:
- Sandpaper (120-grit, 220-grit)
- Cleaning supplies (mild detergent, water, tack cloth)
- Screwdriver
- Painter’s tape
- Quality primer and paint
- Brushes and rollers
- Drop cloths and plastic sheeting
- Safety gear (gloves, mask, goggles)
The Step-by-Step Process
Step 1: Remove Doors and Hardware
Begin by removing all cabinet doors, drawers, and hardware. This might seem cumbersome, but working with flat surfaces ensures a smoother finish.
Step 2: Clean the Cabinet Surfaces
Before painting, clean the surfaces thoroughly to remove grease and dirt. Use a mild detergent mixture or a deglosser for particularly grimy surfaces.
Step 3: Sanding
Sanding is crucial for paint adhesion and smoothness. First, use 120-grit sandpaper to scuff the surfaces lightly. Then, follow up with 220-grit sandpaper for a finer finish. Always wipe the surfaces clean with a tack cloth after sanding.
Step 4: Priming
Priming is essential, especially if your cabinets have grains or dark colors. A high-quality primer enhances adhesion and blocks stains, ensuring the paint lasts longer.
- Tip: Use a tinted primer if you plan on using dark paint.
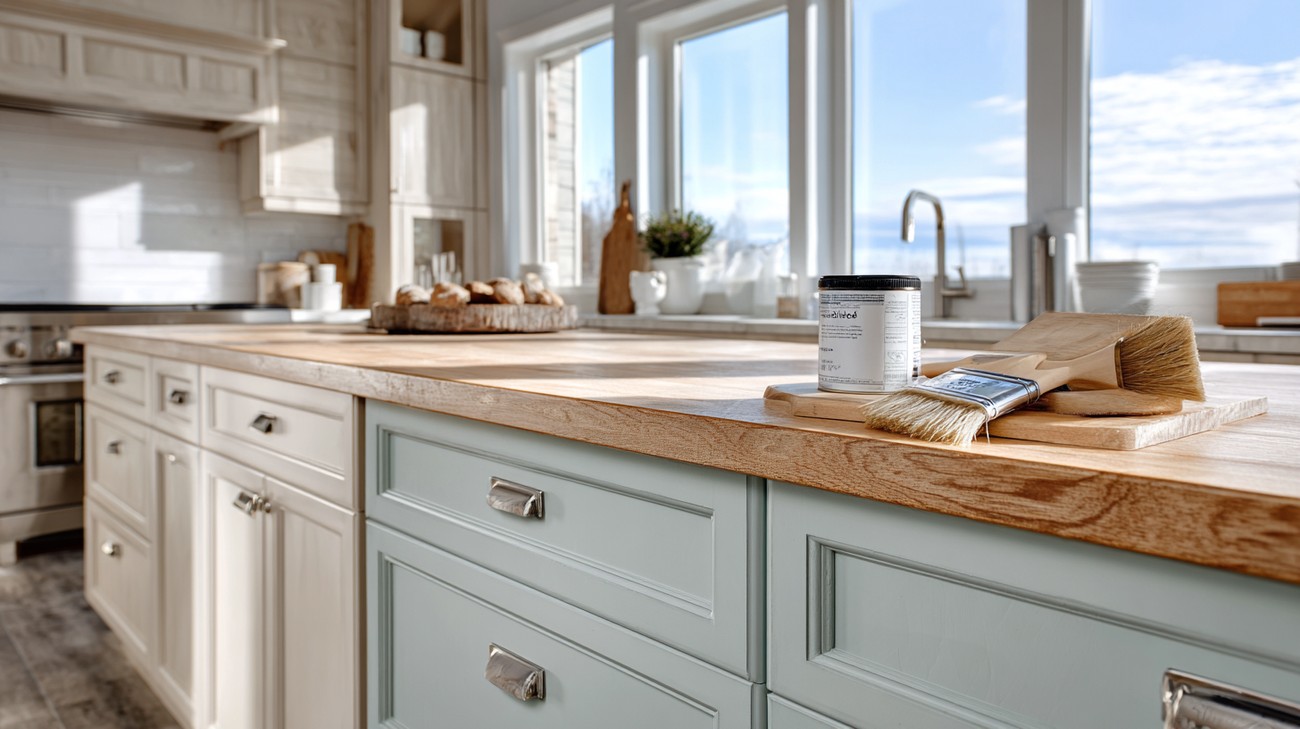
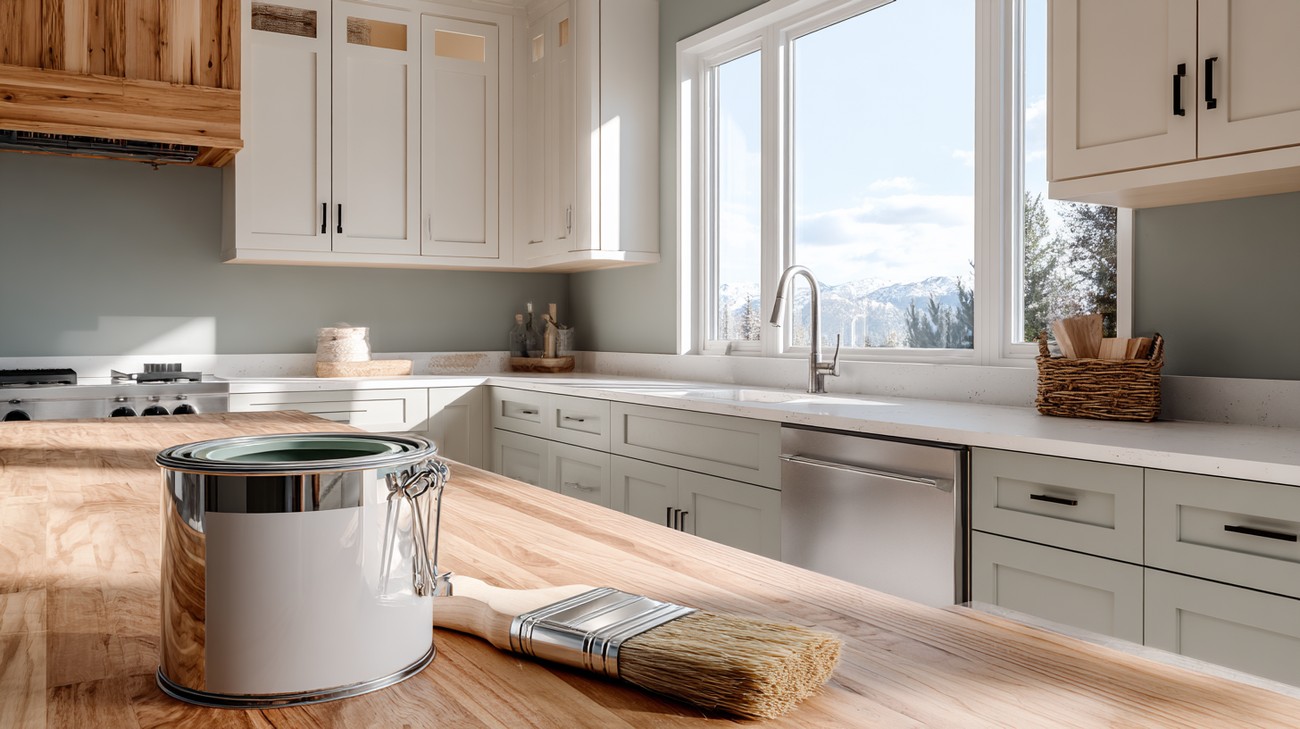
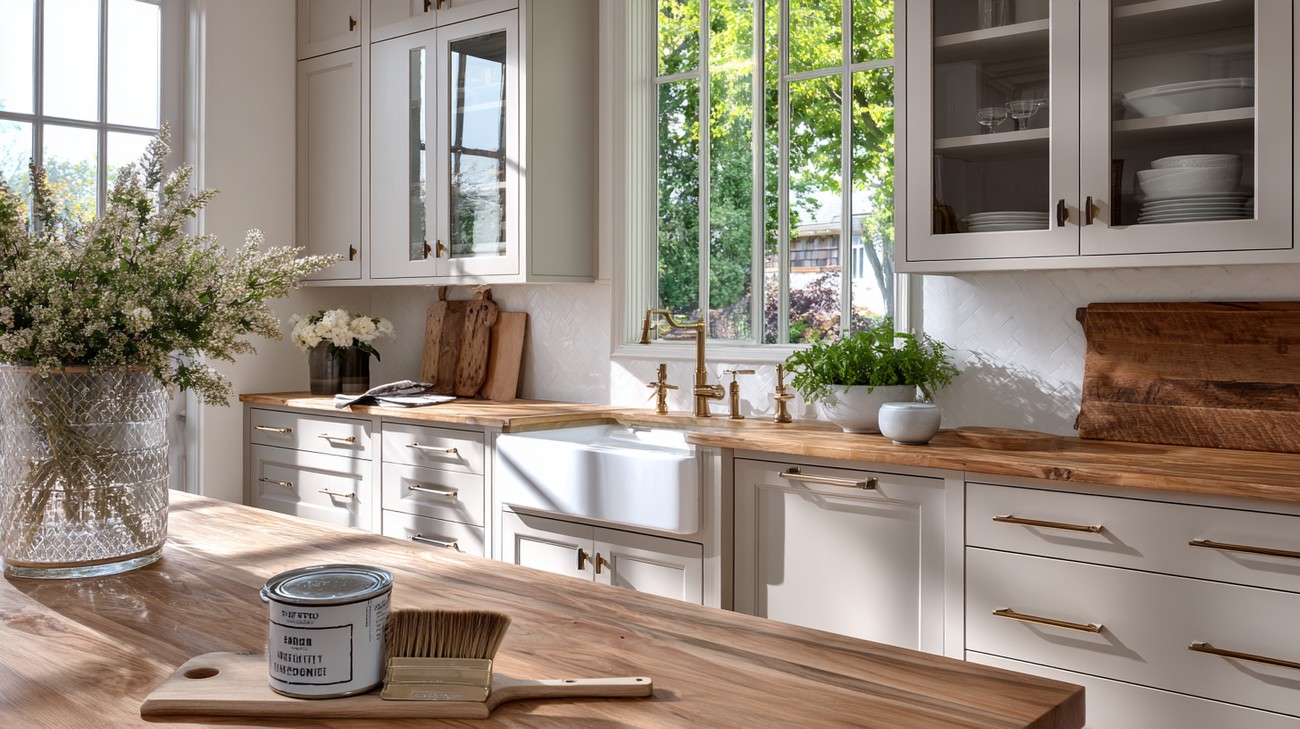
Step 5: Painting
Choose a premium-quality paint designed specifically for cabinets, as these are formulated for durability and easy cleaning.
- Start with Frames and Boxes: Paint the cabinet frames and the boxes first.
- Use a Brush and Roller: Use a brush for detailed areas and a roller for larger panels to ensure an even coat.
- Multiple Light Coats: Apply thin, even coats to avoid drips and ensure a smooth finish. Usually, two to three coats are sufficient.
Step 6: Reassemble
Once the paint has fully dried, reattach all the doors and hardware. You might want to update the handles or knobs to complete the fresh look.
Painting Techniques for a Lasting Finish
Choosing the Right Paint
Selecting the right paint can make a world of difference. Opt for:
- Acrylic or latex paints for ease of use and clean up.
- Semi-gloss or high-gloss finishes for durability and an easy-to-clean surface.
Tips for Professional Results
- Temperature and Humidity Matter: Paint in a controlled environment to avoid bubbling and uneven drying.
- Patience is Key: Allow ample drying time between coats.
Common Mistakes to Avoid
- Skipping Prep Work: Ensures long-lasting results and professional finish.
- Ignoring Primer: Priming prevents peeling and blotchy results.
- Rushing the Job: Patience ensures the paint adheres properly and cures without brush marks.
Maintaining Painted Cabinets
Once you’ve successfully transformed your cabinets, maintenance is crucial for longevity:
- Clean with a soft, damp cloth regularly.
- Avoid abrasive cleaners that may damage the finish.
- Address scratches and chips promptly to prevent worsening.
Frequently Asked Questions about Repainting Painted Cabinets
What type of paint should be used when repainting painted cabinets?
When it comes to repainting painted cabinets, using the right type of paint is crucial. Most experts recommend either acrylic latex paint or oil-based paint for the job. Acrylic latex paint is water-based, making it easier to clean up and quicker to dry. It's also less odorous and more environmentally friendly. Oil-based paint, on the other hand, provides a durable finish and is excellent for high-traffic areas but takes longer to dry. Whichever type you choose, ensure it’s suitable for cabinetry to withstand wear and tear.
How should I prepare painted cabinets for repainting?
Proper preparation is fundamental for successfully repainting painted cabinets. Begin by removing all cabinet doors and hardware such as handles and hinges. Clean the surfaces with a degreaser to eliminate any residue that could affect the new paint’s adhesion. Sand the surfaces lightly to scuff up the current finish, which helps the primer and paint grip better. After sanding, wipe the cabinets with a damp cloth to remove dust. Finally, apply a high-quality primer to ensure your paint adheres well and creates an even base color.
How many coats of paint do I need when repainting painted cabinets?
When repainting painted cabinets, it's generally recommended to apply at least two coats of paint. The first coat provides a base layer that will be covered up by the second, helping to ensure uniformity in color and finish. In some cases, particularly if you're making a significant color change, a third coat might be necessary to achieve the best result. Allow each coat to dry completely before applying another, which might take a few hours depending on humidity and the type of paint used.
Do I need to use a primer before repainting my painted cabinets?
Yes, using a primer before repainting your painted cabinets is advised. A high-quality primer acts as a preparatory coat that ensures paint adhesion and longevity. It can also block stains and help achieve a uniform finish, especially when switching between significantly different colors. Primers are particularly important if the cabinets are made of wood, as they can minimize wood grain texture and prevent tannin bleed. Apply the primer smoothly, allowing it to dry thoroughly based on the manufacturer’s instructions before painting over it.
Can I use chalk paint for repainting cabinets that have already been painted?
Yes, chalk paint can be used for repainting cabinets that have already been painted. Chalk paint is quite popular due to its matte finish and ease of use. It typically requires minimal preparation like sanding or priming, which can save time and effort. However, chalk paint is not as durable as other paint types, so applying a topcoat or wax is recommended to protect the surface. This topcoat will seal the paint, offering better durability and protection against daily wear and tear.
How do I avoid brush marks when repainting painted cabinets?
To avoid brush marks when repainting painted cabinets, consider using high-quality brushes or foam rollers. Brushes with synthetic bristles are particularly good for smooth finishes as they apply paint more evenly. You can also use a paint conditioner, which helps the paint flow better and extends drying time, allowing brush marks to level out smoothly. Additionally, ensure you don’t overload your brush with paint, and apply each coat evenly using long, light strokes. Sanding lightly between coats with fine-grit sandpaper can also help achieve a flawless finish.
What’s the most efficient way to repaint painted cabinet doors?
The most efficient way to repaint painted cabinet doors is to remove them before starting. This allows you to work on a flat surface, making the job easier and neater. Clean the doors thoroughly and sand them to create a smooth surface. Apply primer and then your chosen paint, ensuring you paint all corners and edges. Using a spray gun can speed up the process and provide a smooth finish, but a high-quality brush or roller will work just as well. Once painting is completed and dried, reattach the doors and hardware.
How long should I wait before rehanging cabinet doors after repainting?
After repainting, it's essential to allow ample time for the new paint to cure before rehanging cabinet doors. Typically, you should wait at least 24 hours for the paint to dry to the touch. However, complete curing can take from a few days to a couple of weeks, depending on humidity and temperature. Be patient and allow the paint to fully harden to avoid any potential damage or stickiness. Check the paint's handling and curing times specified on the product's instructions for the best results.
Is it necessary to sand between coats when repainting painted cabinets?
While not always necessary, sanding between coats when repainting painted cabinets can result in a smoother, more professional finish. Sanding with fine-grit sandpaper (such as 220 grit) helps to eliminate any brush marks, drips, or imperfections from the first coat, creating a smooth surface for the subsequent coat. Be sure to wipe down the cabinets with a damp cloth to remove any sanding dust before applying the next coat of paint. This extra step can make a significant difference in the outcome of your project.
Step-by-Step Guide to Repainting Painted Cabinets
Are your cabinets looking tired and in need of a refresh? Repainting painted cabinets is a fantastic way to give your kitchen or bathroom a facelift without breaking the bank. Follow this comprehensive step-by-step guide to achieving beautiful results.
Tools and Materials Needed
Before you begin, gather the following tools and materials:
- Screwdriver
- Painter's tape
- Drop cloths or plastic sheeting
- Sandpaper (220-grit and 320-grit)
- Tack cloth
- Wood filler (if needed)
- Degreaser or trisodium phosphate (TSP)
- Clean, lint-free cloths
- Primer (oil-based or bonding, depending on the paint type)
- Paintbrushes and foam rollers
- Paint (cabinet-grade or semi-gloss acrylic latex)
- Sealer or topcoat (optional)
- Mask or respirator
- Safety goggles
- Gloves
Preparation Steps
Preparation is the key to a smooth painting process. Here’s how to get started:
Clear and Protect Your Space:
- Remove all items from your cabinets and countertops.
- Lay drop cloths or plastic sheeting on the floors and countertops to protect surfaces.
Remove Hardware and Doors:
- Use a screwdriver to remove cabinet doors, drawers, and hardware. Label each door and hardware piece to make reassembly easier.
- Set the hardware aside in labeled bags or containers.
Clean Surfaces Thoroughly:
- Clean all surfaces with a degreaser or TSP to remove grease, grime, and contaminants. Rinse well and dry thoroughly.
Inspect and Repair:
- Examine your cabinets for any damage. Use wood filler to repair any dents or holes, then sand smooth when dry.
Detailed Instructions
Follow these actionable steps for a professional-looking finish:
Sand the Cabinets:
- Use 220-grit sandpaper to sand all surfaces lightly. Ensure you get into corners and crevices. This step helps primer and paint adhere better.
- After sanding, wipe down all surfaces with a tack cloth to remove dust.
Prime the Surfaces:
- Choose a high-quality primer suitable for your paint type (oil-based or bonding primer).
- Apply a thin, even coat using a paintbrush for corners and edges, and a foam roller for flat surfaces. Let it dry according to the manufacturer's instructions.
Sand Again:
- Lightly sand the primed surfaces with 320-grit sandpaper to smooth any brush strokes or rough spots.
- Wipe down again with a tack cloth to ensure a clean surface.
Paint the Cabinets:
- Stir your paint thoroughly before use.
- Apply the first coat of paint evenly, starting with the edges and corners using a brush, then moving to flat areas with a foam roller.
- Allow the first coat to dry completely, then add a second coat. Depending on the paint color and coverage, a third coat may be necessary.
Reassemble:
- Once the paint is fully dry, carefully reattach your hardware and remount the doors and drawers.
- Double-check that all doors and drawers open and close smoothly.
Optional Sealer:
- For added durability, consider applying a clear sealer or topcoat. This step is particularly useful in high-traffic areas or kitchens.
Tips for Success
- Test First: Always test your paint on a small, inconspicuous area first to ensure adhesion and the desired finish.
- Ventilation: Ensure your workspace is well-ventilated to dispel fumes and speed up drying times.
- Patience: Allow each paint layer to fully dry before adding another to prevent streaks and uneven texture.
What To Do If Something Goes Wrong
- Paint Drips: If drips occur, lightly sand the affected area once dry and touch up with additional paint.
- Rough Finish: Resand rough areas and reapply paint carefully to smooth it out.
- Poor Adhesion: If paint isn't sticking, it may be due to insufficient prep. Strip off the problematic paint, clean thoroughly, and start again with appropriate primer and sanding.
Repainting your cabinets can transform your space with just a little effort and attention to detail. Follow this guide, and you’ll achieve a fresh, updated look that breathes new life into your room. Happy painting!
Common Mistakes to Avoid
Repainting painted cabinets is a wonderful way to breathe new life into your kitchen or bathroom. However, DIY projects like these can sometimes leave you with unexpected results. Let’s walk through some of the most common mistakes people make when repainting painted cabinets and how you can steer clear of them.
1. Skipping Surface Preparation
Why it happens: You're eager to see the transformation and skip straight to painting. This enthusiasm, while admirable, can lead to overlooking the fundamentals.
How to avoid it: Always clean, sand, and prime your cabinets before applying new paint. Cleaning removes grease and grime, while sanding roughs up the surface for better paint adhesion. Priming is crucial, especially if you’re covering a darker color or a glossy finish.
What to do if you’ve already made the mistake: If your paint is peeling or chipping, you'll need to strip it down, sand again, and start over with a good primer.
Expert recommendation: Use a high-quality cleaner like TSP (trisodium phosphate) for tough grease stains and ensure you’re using sandpaper in the 120-150 grit range for optimal surface preparation.
2. Choosing the Wrong Paint Type
Why it happens: It’s easy to get overwhelmed by the options and choose paint based on color instead of suitability.
How to avoid it: Use a paint designed specifically for cabinets or furniture. These paints are formulated to withstand frequent cleaning and resist chipping and scratching.
What to do if you’ve already made the mistake: If the paint is not adhering well or is easily damaged, you may need to strip it off and repaint using a more suitable product.
Expert recommendation: An acrylic enamel paint is often a great choice, as it provides a durable, washable finish that's resistant to stains and scuffs.
3. Not Removing Cabinet Doors and Hardware
Why it happens: You might decide it saves time to paint doors and drawers in place.
How to avoid it: Remove all cabinet doors, drawers, and hardware before painting. This allows you access to edges and ensures an even coat without drips or missed spots.
What to do if you’ve already made the mistake: If paint pools or drip marks have formed, you might need to sand those areas and repaint. In the future, always remove parts for a professional finish.
Expert recommendation: Label each piece as you remove it to make reinstallation easier. A simple piece of tape with a number will save you the frustration of trying to remember where everything belongs.
4. Ignoring the Drying Time Between Coats
Why it happens: The excitement of completing the project leads you to rush through the process.
How to avoid it: Patience is your best friend here. Follow the manufacturer’s recommended drying times between coats, ensuring each layer is thoroughly dry before applying the next.
What to do if you’ve already made the mistake: If your final result feels tacky or has imperfections, you might have to sand down the finish and start over with proper drying intervals.
Expert recommendation: A fan or dehumidifier can speed up drying in humid environments, but avoid direct airflow which might carry dust to your wet paint.
5. Neglecting to Seal
Why it happens: Sometimes, DIY painters assume the paint alone will suffice for durability.
How to avoid it: Always apply a sealant or topcoat once your paint has cured. This additional layer protects your paint job from moisture, scratches, and daily wear and tear.
What to do if you’ve already made the mistake: Apply a topcoat as soon as possible. If signs of wear are evident, consider lightly sanding the affected area and touching it up before sealing.
Expert recommendation: A polyurethane or polycrylic topcoat is typically recommended, with polycrylic being a less odorous alternative that's great for indoor use.
6. Using Inferior Tools
Why it happens: It’s tempting to cut costs by using the cheapest brushes and rollers.
How to avoid it: Invest in high-quality brushes and rollers. They distribute paint more evenly and reduce the appearance of brush strokes or roller marks.
What to do if you’ve already made the mistake: Uneven or streaky areas might need to be repainted. Consider investing in a quality brush for better control and finish.
Expert recommendation: A synthetic bristle brush works well with water-based paints, and foam rollers are perfect for achieving a smooth finish on large, flat surfaces.
By avoiding these common mistakes, you'll achieve a long-lasting, professional-looking finish on your cabinets. Happy painting!


