


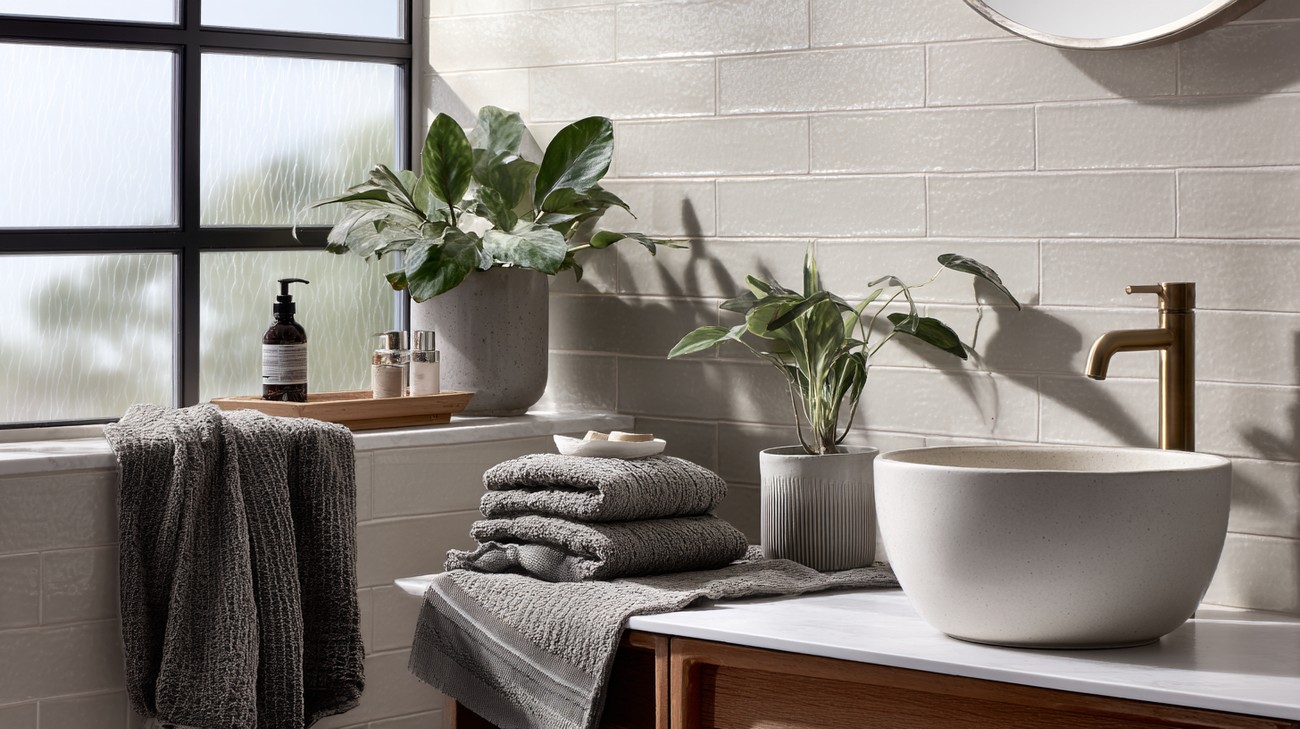
Painting bathroom tile can transform an outdated space into a fresh and vibrant room without the hassle and expense of a complete renovation. Whether you're envisioning a sleek contemporary look or a classic aesthetic, paint can offer versatile solutions. In this article, we'll dive deep into everything you need to know about painting bathroom tiles, focusing on preparation, techniques, materials, and maintenance to ensure your project stands the test of time.
Why Paint Bathroom Tile?
If you're contemplating a remodel but are constrained by budget or time, consider painting your bathroom tiles. Painting tiles can offer:
- Cost-efficiency: Substantially cheaper than replacing tiles.
- Time savings: A practical alternative to lengthy renovations.
- Versatility: Endless color and finish options.
- Easier updates: Change colors as styles evolve without major alterations.
Preparation Is Key
Assessing the Surface
Begin by assessing the condition of your tiles. The painting process is most effective on tiles that are still intact without cracks or chips. Proper surface evaluation ensures that the paint adheres correctly and lasts longer.
Gathering Materials
Ensure you have all necessary materials before starting. A comprehensive list might include:
- Tile cleaner
- Sandpaper or sanding block (220-grit)
- Painter's tape
- Tile primer
- Tile paint (oil-based or epoxy)
- Paint rollers and brushes
- Sealant
- Protective gear (gloves, mask)
Cleaning and Priming
Thorough Cleaning: Begin with a deep clean using a tile cleaner to remove mildew, soap scum, and grease. A clean surface ensures better paint adherence.
Sanding the Surface: Lightly sand your tiles to remove the glaze. This roughens up the surface, helping the primer and paint stick. Wipe away dust with a damp cloth.
Applying Painter's Tape: Protect areas around the tiles, like fixtures and edges, using painter's tape. This keeps your lines neat and professional-looking.
Primer Application: Use a good-quality tile primer to coat the tiles. The primer forms a binding layer that paint can easily adhere to. Allow complete drying as per the manufacturer's instructions before proceeding.
Painting Techniques
Choosing the Right Paint
Your paint choice matters; using paints specifically designed for tile, often oil-based or epoxy, provides durability and resistance to moisture, a vital aspect in bathrooms.
Application Process
First Coat: Use a small roller to apply a thin, even coat of tile paint. For corners and edges, use a brush. This prevents drips and uneven texture.
Drying Time: Allow the first coat to fully dry—a crucial step to ensure subsequent layers adhere properly.
Second Coat: Apply a second coat for a fully opaque finish. Some projects may require additional coats depending on the original tile color and desired brightness.
Achieving the Best Finish
- Smooth Strokes: Use long, smooth strokes to maintain even coverage.
- Avoid Overloading: Prevent excess paint loads on brushes or rollers to minimize streaks.
- Ventilation: Ensure the bathroom is well-ventilated throughout the painting process to speed up drying and reduce fumes.
Seal and Protect
Importance of Sealing
Once painting is complete and fully dried, a clear sealant is essential. Sealant adds a protective layer, enhancing water resistance and extending the paint’s longevity.
- Sealant Application: Apply a clear, water-resistant sealant over the painted tiles with a clean roller. Avoid using too much to prevent bubbling.
- Cure Time: Let the sealant cure completely according to product specifications before using the bathroom normally.
Maintaining Your Painted Tiles
To keep your painted tiles looking pristine, consider these maintenance tips:
- Gentle Cleaning: Use soft cloths and non-abrasive cleaners to avoid scratches or peel.
- Regular Dusting: Wipe tiles regularly to keep dirt and grime at bay.
- Quick Repairs: Address chips or wear with touch-up paint promptly.
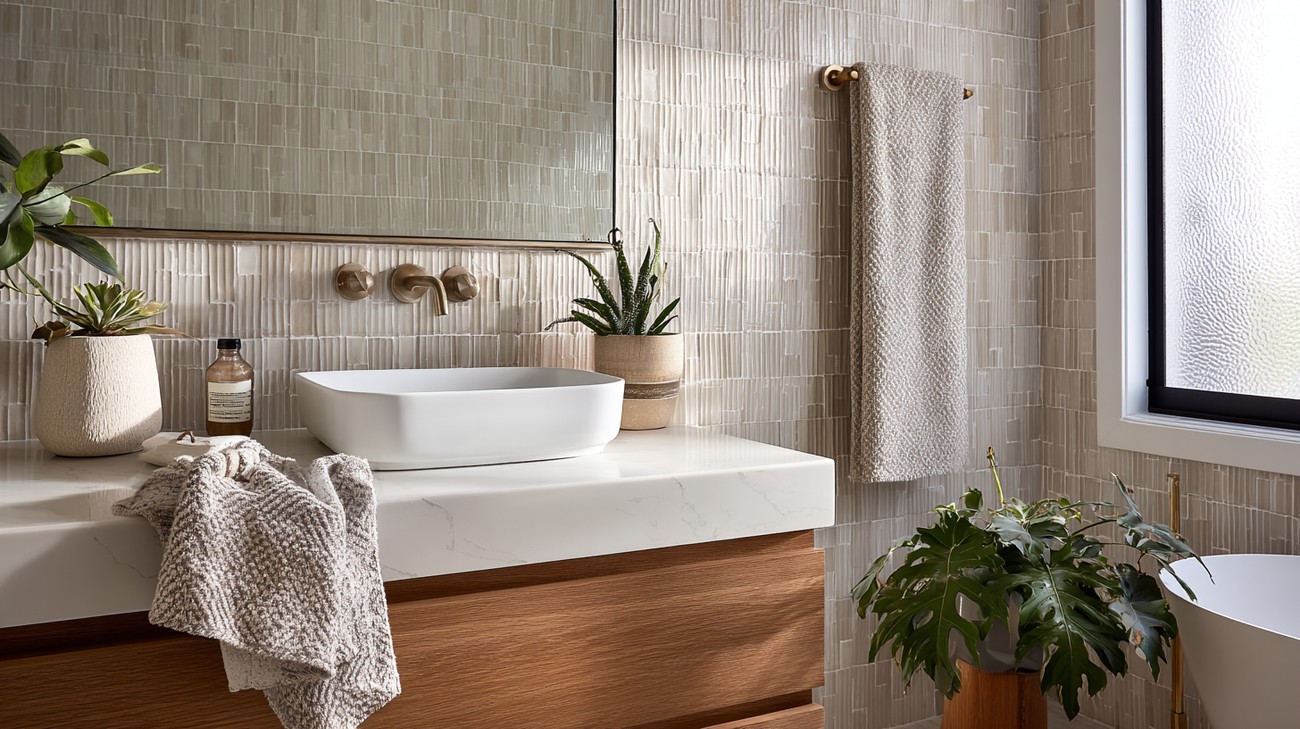
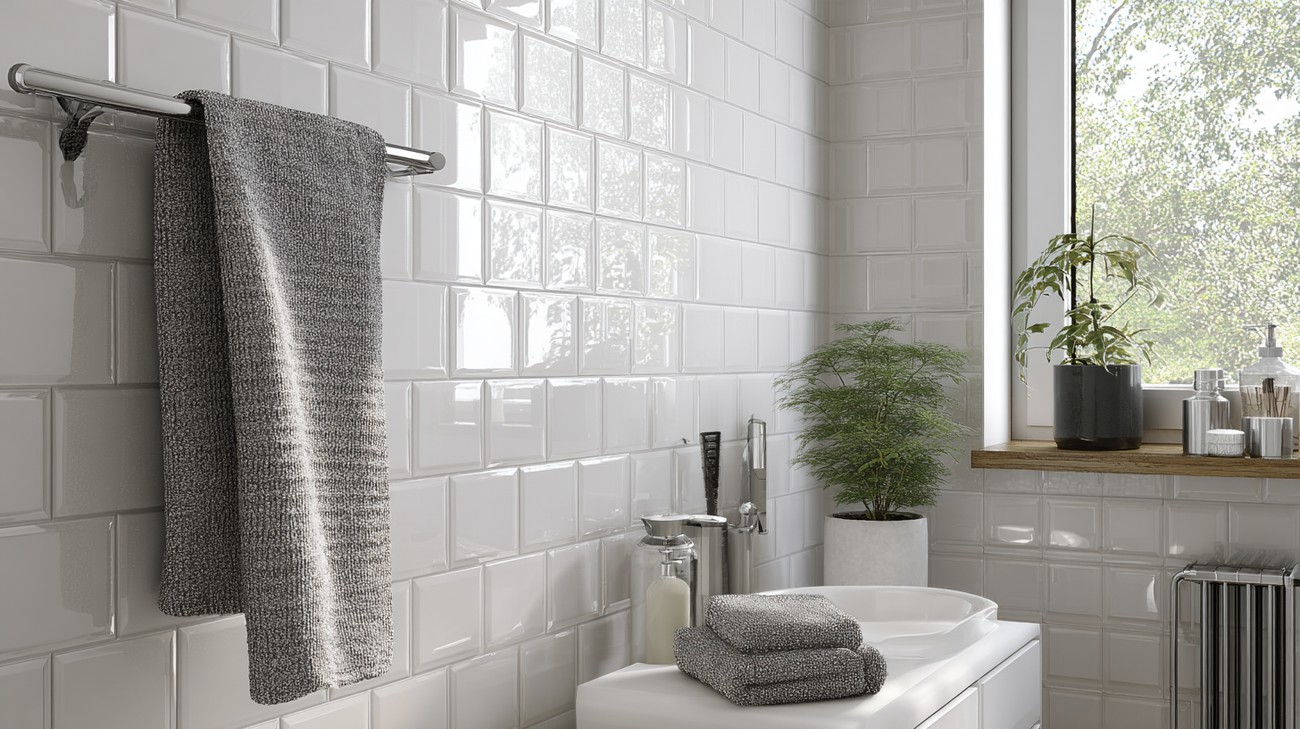
Style Tips and Creative Ideas
Color Schemes
- Monochrome: Classic black and white for a timeless look.
- Earth Tones: Rich greens and browns for a natural, calming vibe.
- Bold Hues: Deep blues or vibrant reds for modern flair.
Frequently Asked Questions about Painting Bathroom Tile
What type of paint should be used for painting bathroom tile?
When painting bathroom tiles, it's crucial to choose a paint that can withstand the humid and wet conditions typical of a bathroom. Epoxy paint is often recommended due to its durability and water-resistance properties. Alternatively, you can use an acrylic latex paint designed specifically for bathroom or tile use. These paints provide a resilient finish that resists chipping, fading, and mold growth. It's important to check the label to ensure the paint is suitable for tiles and will endure regular cleaning.
How do you prepare tiles for painting?
Preparing tiles for painting involves several key steps to ensure optimal results. Start by cleaning the tile surface thoroughly with a mild detergent solution to remove grease, grime, and soap residue. Rinse the tiles with water and allow them to dry completely. Next, lightly sand the tiles using fine-grit sandpaper to create a rough surface, which helps the primer and paint adhere better. After sanding, wipe away any dust with a damp cloth. Finally, apply a high-quality primer designed for tile surfaces to seal the tiles and further improve paint adhesion.
Is painting bathroom tile a long-lasting solution?
Painting bathroom tiles can be a durable solution if done correctly, although it may not last as long as new tile installation. Proper preparation, including cleaning, sanding, and priming, significantly affects longevity. Using the right type of paint and allowing ample drying and curing time are also crucial. Repainted tiles typically last for several years, but high-traffic areas or floors may show wear sooner. To extend the life of painted tiles, avoid harsh cleaners and use bathroom-specific cleaning agents.
Can you paint over grout lines when painting tiles?
Yes, you can paint over grout lines when painting bathroom tiles, but this may change the original look if the grout is not painted a different color afterward. Some choose to paint the tiles and grout the same color for a seamless appearance. Alternatively, if you prefer contrasting grout, you can purchase a grout pen or carefully paint over the grout lines with a small paintbrush after the main tile paint has dried. Be sure to clean the grout lines well and ensure they are free of mildew for the best results.
How long does it take to paint bathroom tile?
The time it takes to paint bathroom tile can vary depending on the size of the area and the products used. The preparation stage might take a day or more, especially if the cleaning and sanding process is labor-intensive. Once the prep work is complete, priming and painting typically require a few hours per coat, with adequate drying time needed between each application. Generally, allow three to four days for the entire process of painting bathroom tile to ensure each layer cures properly for maximum durability.
What are some common mistakes to avoid when painting bathroom tile?
When painting bathroom tile, several common mistakes can affect the outcome. Skipping the preparatory steps, such as cleaning and sanding, can lead to poor paint adhesion. Failing to use a primer specifically meant for tiles can result in peeling paint. Using the wrong type of paint, like standard wall paint, will not endure the humid bathroom conditions. Rushing the drying process between coats may cause the paint to peel or chip sooner. Finally, improper cleaning or using abrasive cleaners on painted tiles can damage the finish.
Is it possible to paint floor tiles in the bathroom?
Yes, painting bathroom floor tiles is possible, but it requires extra care since floor tiles endure more wear and tear than wall tiles. Proper surface preparation, including cleaning, sanding, and priming, is crucial to ensure the paint adheres well. Use a high-quality epoxy or enamel paint that is specifically designed for floors, providing durability against foot traffic and moisture. A clear topcoat may extend the lifespan by adding an extra layer of protection. Regular maintenance with non-abrasive cleaners will help maintain the painted tiles' appearance.
How can I maintain painted bathroom tiles?
Maintaining painted bathroom tiles involves gentle cleaning and avoiding abrasive substances that can scratch or damage the paint. Use a mild cleaner or a solution of vinegar and water to clean the tiles regularly, applying with a soft cloth or sponge. Avoid scrubbing too rigorously, especially on floor tiles. Promptly addressing standing water, mold, or mildew will preserve the paint's integrity. If you see signs of paint peeling or wear, touch up the area with leftover paint from the original project to maintain a refreshed appearance.
Step-by-Step Guide to Painting Bathroom Tile
If you're tired of your outdated bathroom tiles but not ready for a full remodel, painting them is a budget-friendly and effective alternative that can breathe new life into your space. Follow this comprehensive guide to learn how to paint bathroom tiles like a pro.
Tools and Materials Needed
Before you start, gather all the necessary tools and materials:
- Protective gear: gloves, mask, and safety goggles
- Cleaning materials: mild detergent, sponge, and cloths
- Sandpaper (220-grit)
- Painter's tape
- Tile primer
- Tile paint (epoxy or acrylic latex)
- Paint roller with a high-density foam cover
- Small paintbrushes for detail work
- Paint tray
- Drop cloths or plastic sheeting
- Ladder or step stool (if needed)
Preparation Steps
Clean the Tile Surface: Begin by thoroughly cleaning the tiles with a mild detergent to remove soap scum, grime, and mildew. Use a sponge for scrubbing, and rinse well with clean water. Allow the tiles to dry completely.
Sand the Tiles: Use 220-grit sandpaper to lightly sand the tile surface. This step is crucial as it helps the primer and paint adhere better. Wipe away the dust with a damp cloth and let the surface dry.
Protect the Area: Cover the floors, adjacent walls, and any fixtures with drop cloths or plastic sheeting to protect them from paint splatters. Use painter's tape to mask off edges and areas you don’t want to paint, such as grout lines if you wish to keep them in their original color.
Detailed Instructions
Apply Primer:
- Pour the tile primer into a paint tray. Use a high-density foam roller to apply a thin, even coat of primer over the tiles.
- Use a small brush to reach corners and edges. Allow the primer to dry completely as per the manufacturer's instructions.
Paint the Tile:
- Once the primer is dry, pour the tile paint into a clean paint tray. Start with a small section and apply the paint with the foam roller in long, smooth strokes.
- Use small brushes to carefully paint around edges and any detailed areas.
Second Coat:
- After the first coat has dried thoroughly (as per the paint manufacturer's instructions), assess the coverage. Apply a second coat to achieve a solid and uniform finish.
- Allow the second coat to dry completely.
Finish Up:
- Once you have your desired coverage and the paint is fully dry, carefully remove the painter’s tape.
- Inspect the painted tiles for any missed spots or uneven areas and touch up as necessary with a brush.
Tips for Success
- Ventilation is Key: Ensure the bathroom is well-ventilated throughout the process to avoid inhaling fumes and to help the paint dry more quickly.
- Choose the Right Paint: Epoxy and acrylic latex paints are recommended for tiles due to their durability and resistance to moisture.
- Patience Pays Off: Allow sufficient drying time between coats to prevent peeling and ensure a long-lasting finish.
- Test First: Consider testing the entire process on a small, inconspicuous area first to see the results before committing to the whole bathroom.
What to Do If Something Goes Wrong
- If Paint Peels or Bubbles: This could indicate inadequate cleaning or insufficient drying between coats. Try sanding the affected area gently, cleaning it thoroughly, and reapplying primer and paint.
- If You Spot Drips or Unevenness: Once the paint is dry, lightly sand the drips or uneven areas, clean off the dust, and apply a smooth, even touch-up coat.
- If the Color Isn’t Right: It’s always wise to test a small area first. If you’re unhappy with the final color, applying another coat with a different shade is often the only solution.
Painting bathroom tiles can transform your space with a fresh new look for a fraction of the cost of replacement. With the right preparation, materials, and technique, you’ll achieve a beautiful and durable finish. Happy painting!
Common Mistakes to Avoid
Painting bathroom tiles is a cost-effective way to give your space a fresh look. However, there are several common mistakes that can derail your project. Let's explore these pitfalls, understand why they happen, and figure out how to avoid them.
1. Skipping Surface Preparation
Why it happens: In the excitement of transforming your bathroom, it’s easy to underestimate the importance of prepping surfaces. Enthusiasm often leads to a jump right into painting, skipping this crucial step.
How to avoid it: Thoroughly clean the tiles with a heavy-duty cleaner to remove grime, soap scum, and any mildew. Next, sand the tiles lightly to ensure the paint adheres properly. Make sure the surface is completely dry before beginning.
What to do if you've already made the mistake: If you notice paint adhesion problems, you'll need to start over. Strip the paint, clean, sand, and dry the surface, then repaint.
Expert recommendation: Allocate sufficient time to preparation as it establishes the foundation for a long-lasting finish.
2. Using the Wrong Type of Paint
Why it happens: Not all paints are created equal, and it's a common error to use any leftover wall paint on tiles. Many assume paint is paint, overlooking the specific formulations needed for different surfaces.
How to avoid it: Use epoxy or latex paint specifically designed for tiles or high-moisture environments. These paints are durable and moisture-resistant.
What to do if you've already made the mistake: If incorrect paint was used, it might start peeling. You'll have to remove the paint and redo the surface with appropriate tile paint.
Expert recommendation: Consult a paint specialist to ensure you're selecting the right product for your bathroom tiles.
3. Avoiding Primer
Why it happens: Primers are often dismissed as unnecessary if you’re using paint-and-primer-in-one products. The belief that this saves time and expenses leads many astray.
How to avoid it: Always apply a high-adhesion primer to ensure that the paint bonds correctly to the tile surface.
What to do if you've already made the mistake: Should your paint begin to peel or show bubbles, strip the paint, apply primer, and repaint.
Expert recommendation: Experts unanimously agree that using a primer is a non-negotiable step for painting tiles.
4. Not Venturing into Grout Lines
Why it happens: In a bid for speed, some people paint over tiles but neglect grout lines, thinking the paint will naturally settle in those spaces.
How to avoid it: Use a small brush to ensure paint gets into the grout lines, providing a consistent and professional finish.
What to do if you've already made the mistake: Repaint using fine brushes specifically for grout lines for a seamless appearance.
Expert recommendation: Pay extra attention to detail around the edges and use meticulous painting techniques for grout lines.
5. Rushing the Drying Process
Why it happens: Eager to see results, many underestimate drying times, which can lead to smudging or premature wear.
How to avoid it: Follow the manufacturer’s instructions regarding drying times between coats. Typically, you should allow at least 24 hours for each coat to dry thoroughly.
What to do if you've already made the mistake: You’ll need to remove or sand down any imperfections and repaint the affected areas.
Expert recommendation: Be patient. Drying times vary, so allocate several days to this project to ensure quality.
6. Ignoring Finish Sealant
Why it happens: Final protective layers are often skipped to save time, with the false belief that paint alone is sufficient for durability.
How to avoid it: Apply a clear sealant designed for tiles to protect the paint from moisture and wear.
What to do if you've already made the mistake: If the paint shows signs of damage, lightly sand the surface and add a sealant to halt further deterioration.
Expert recommendation: Consult with experts on the best sealant options that will provide extended durability to your painted tiles.
By avoiding these common mistakes, your bathroom tile painting project can result in a professional-looking, durable finish. Remember, the devil is in the details, so preparation and product choice are key to success!


